Jan 3rd, 2023
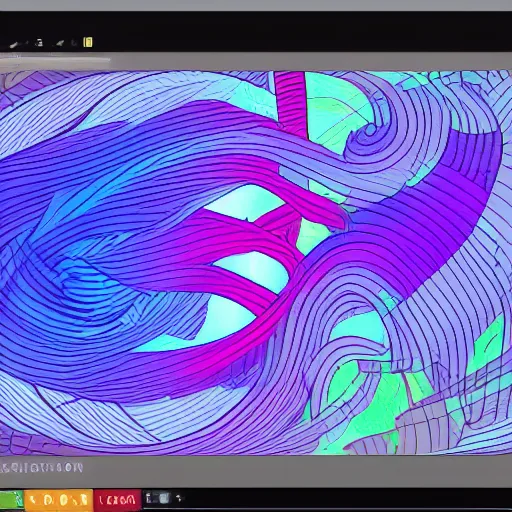
Hey everyone!
I wanted to share with you my experience today with setting up and using Diffusion Bee, an AI image creating software. I used it on my MacBook Pro, which has a M1 Max chip and 64Gb of ram. I figured that should be enough to run the software smoothly and create high quality AI art.
I used the DiffusionBee UI for this, and I have to say it was a fairly easy process. You can find the github page here and the main website here.
The setup process was straightforward, though it did take a bit of time. First, I had to download the dmg file from the main website and add it to my applications folder. There are two versions of DiffusionBee available for Apple Silicon chips, and I opted for the high quality version since my MacBook Pro has good specs. The initial dmg file was only 500Mb, but once you start up the application, 8 models need to be downloaded, so make sure you have at least 8Gb of free space and some time to allow the models to download.
DiffusionBee has several different modes of use, including text to image, image to image, in-painting and out-painting. Here's a breakdown of each mode:
- Text to image generates an image based on an input string
- Image to image modifies an image provided based on an input string
- In-painting removes or adds objects to a region of a provided image based on an input string
- Out-painting expands an image outward using an input string

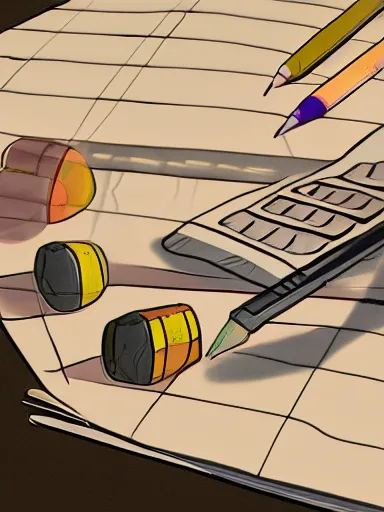
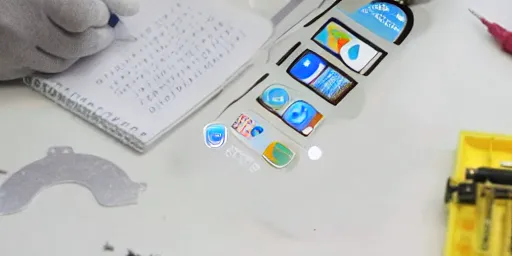
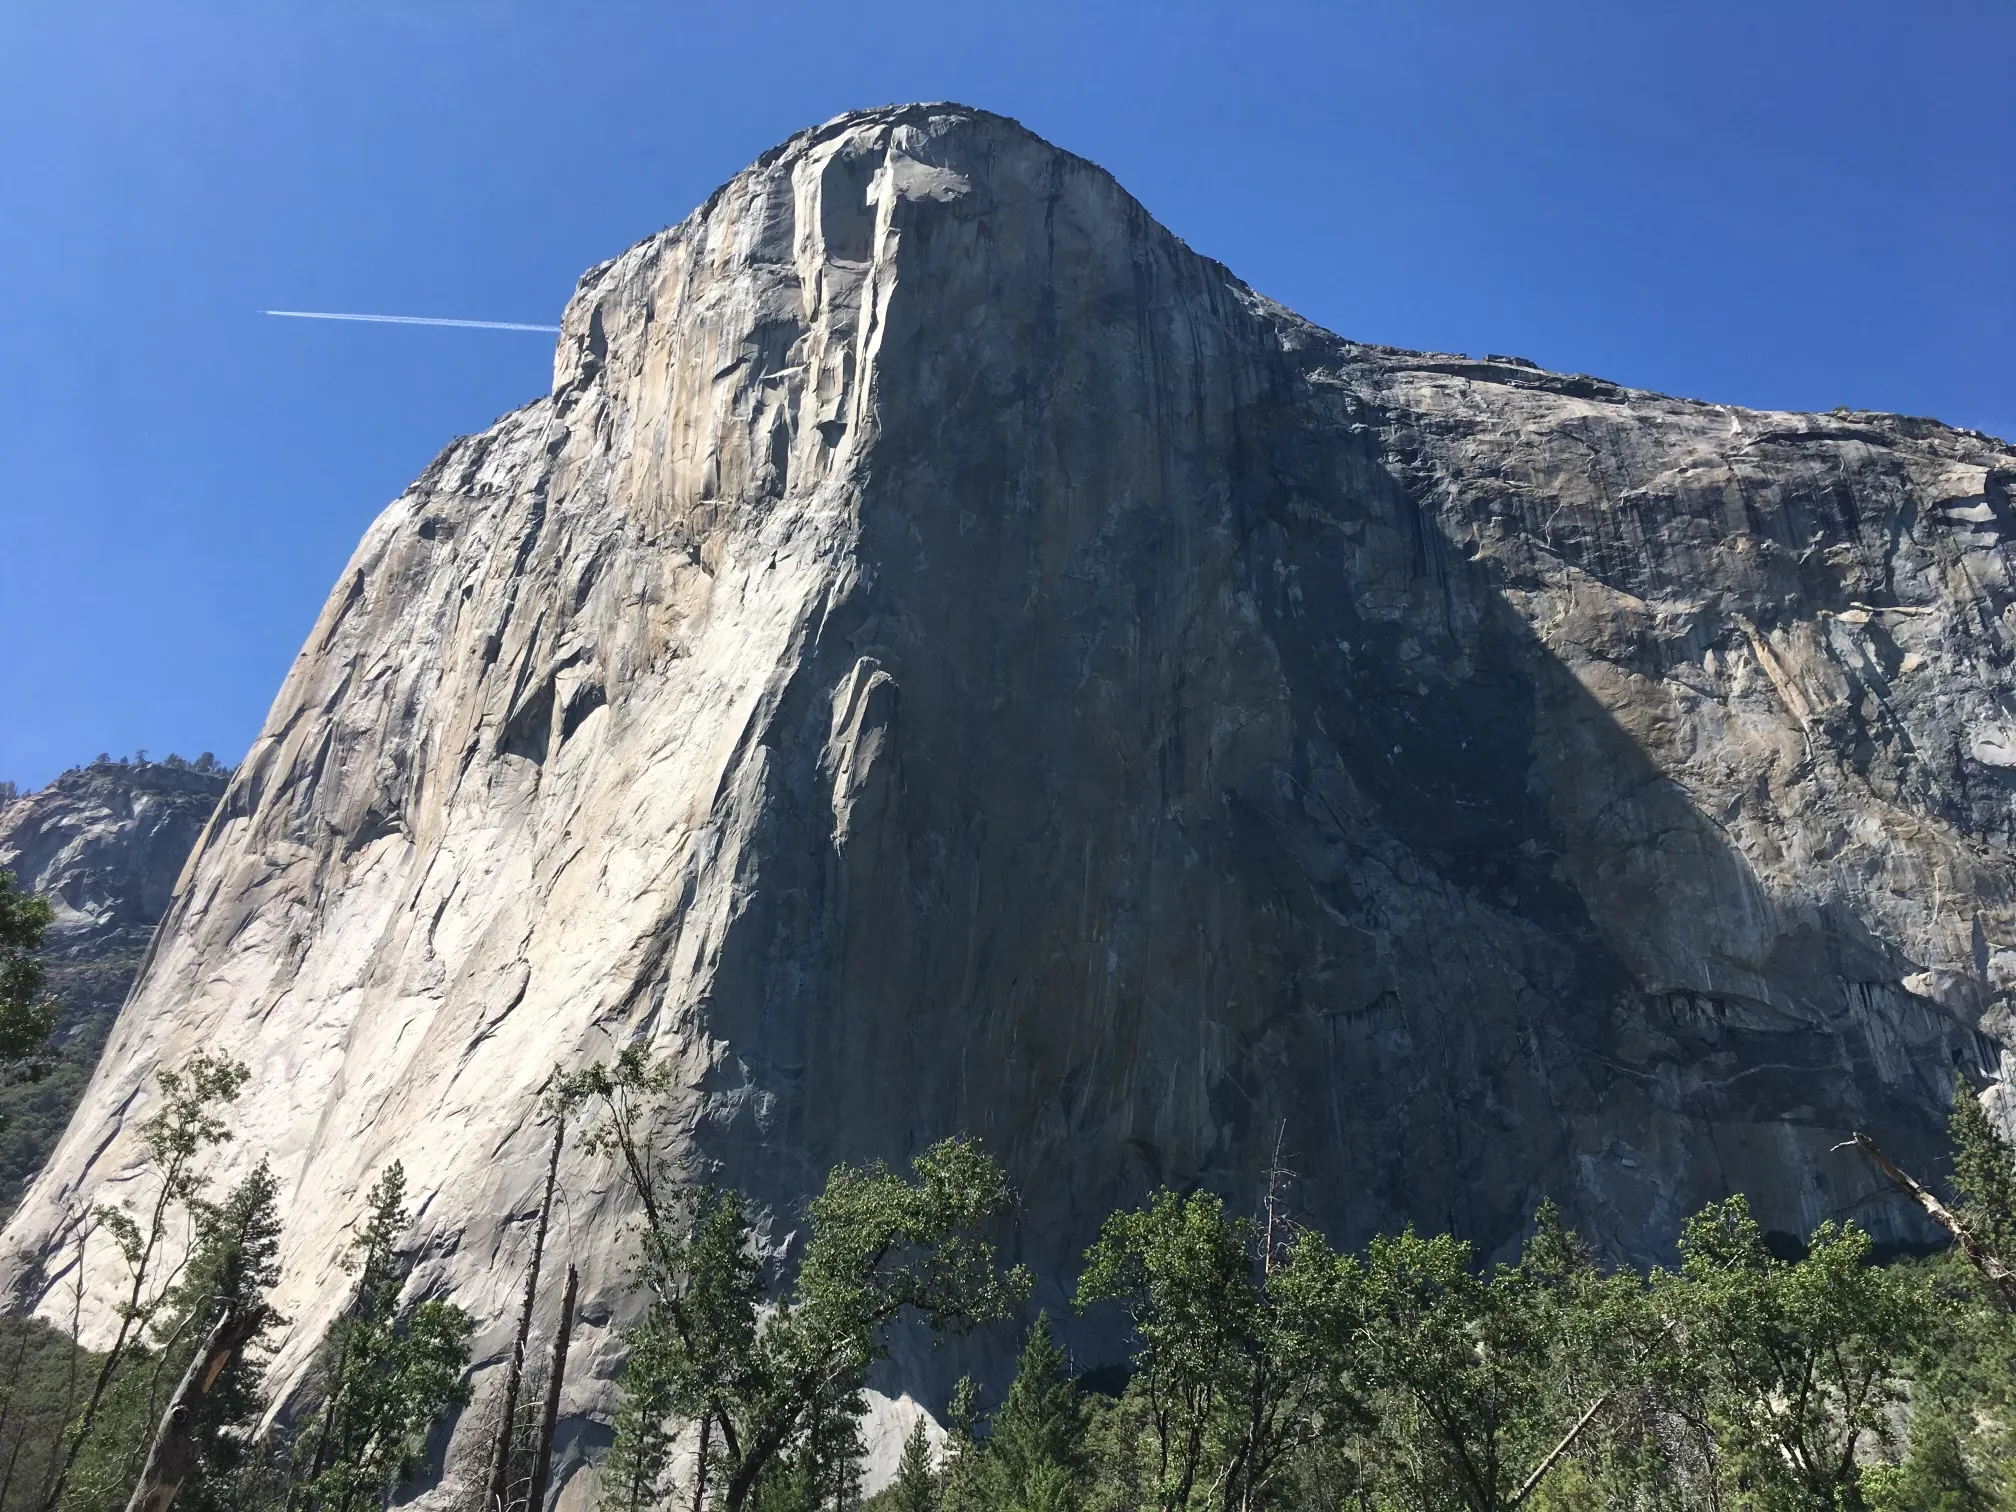
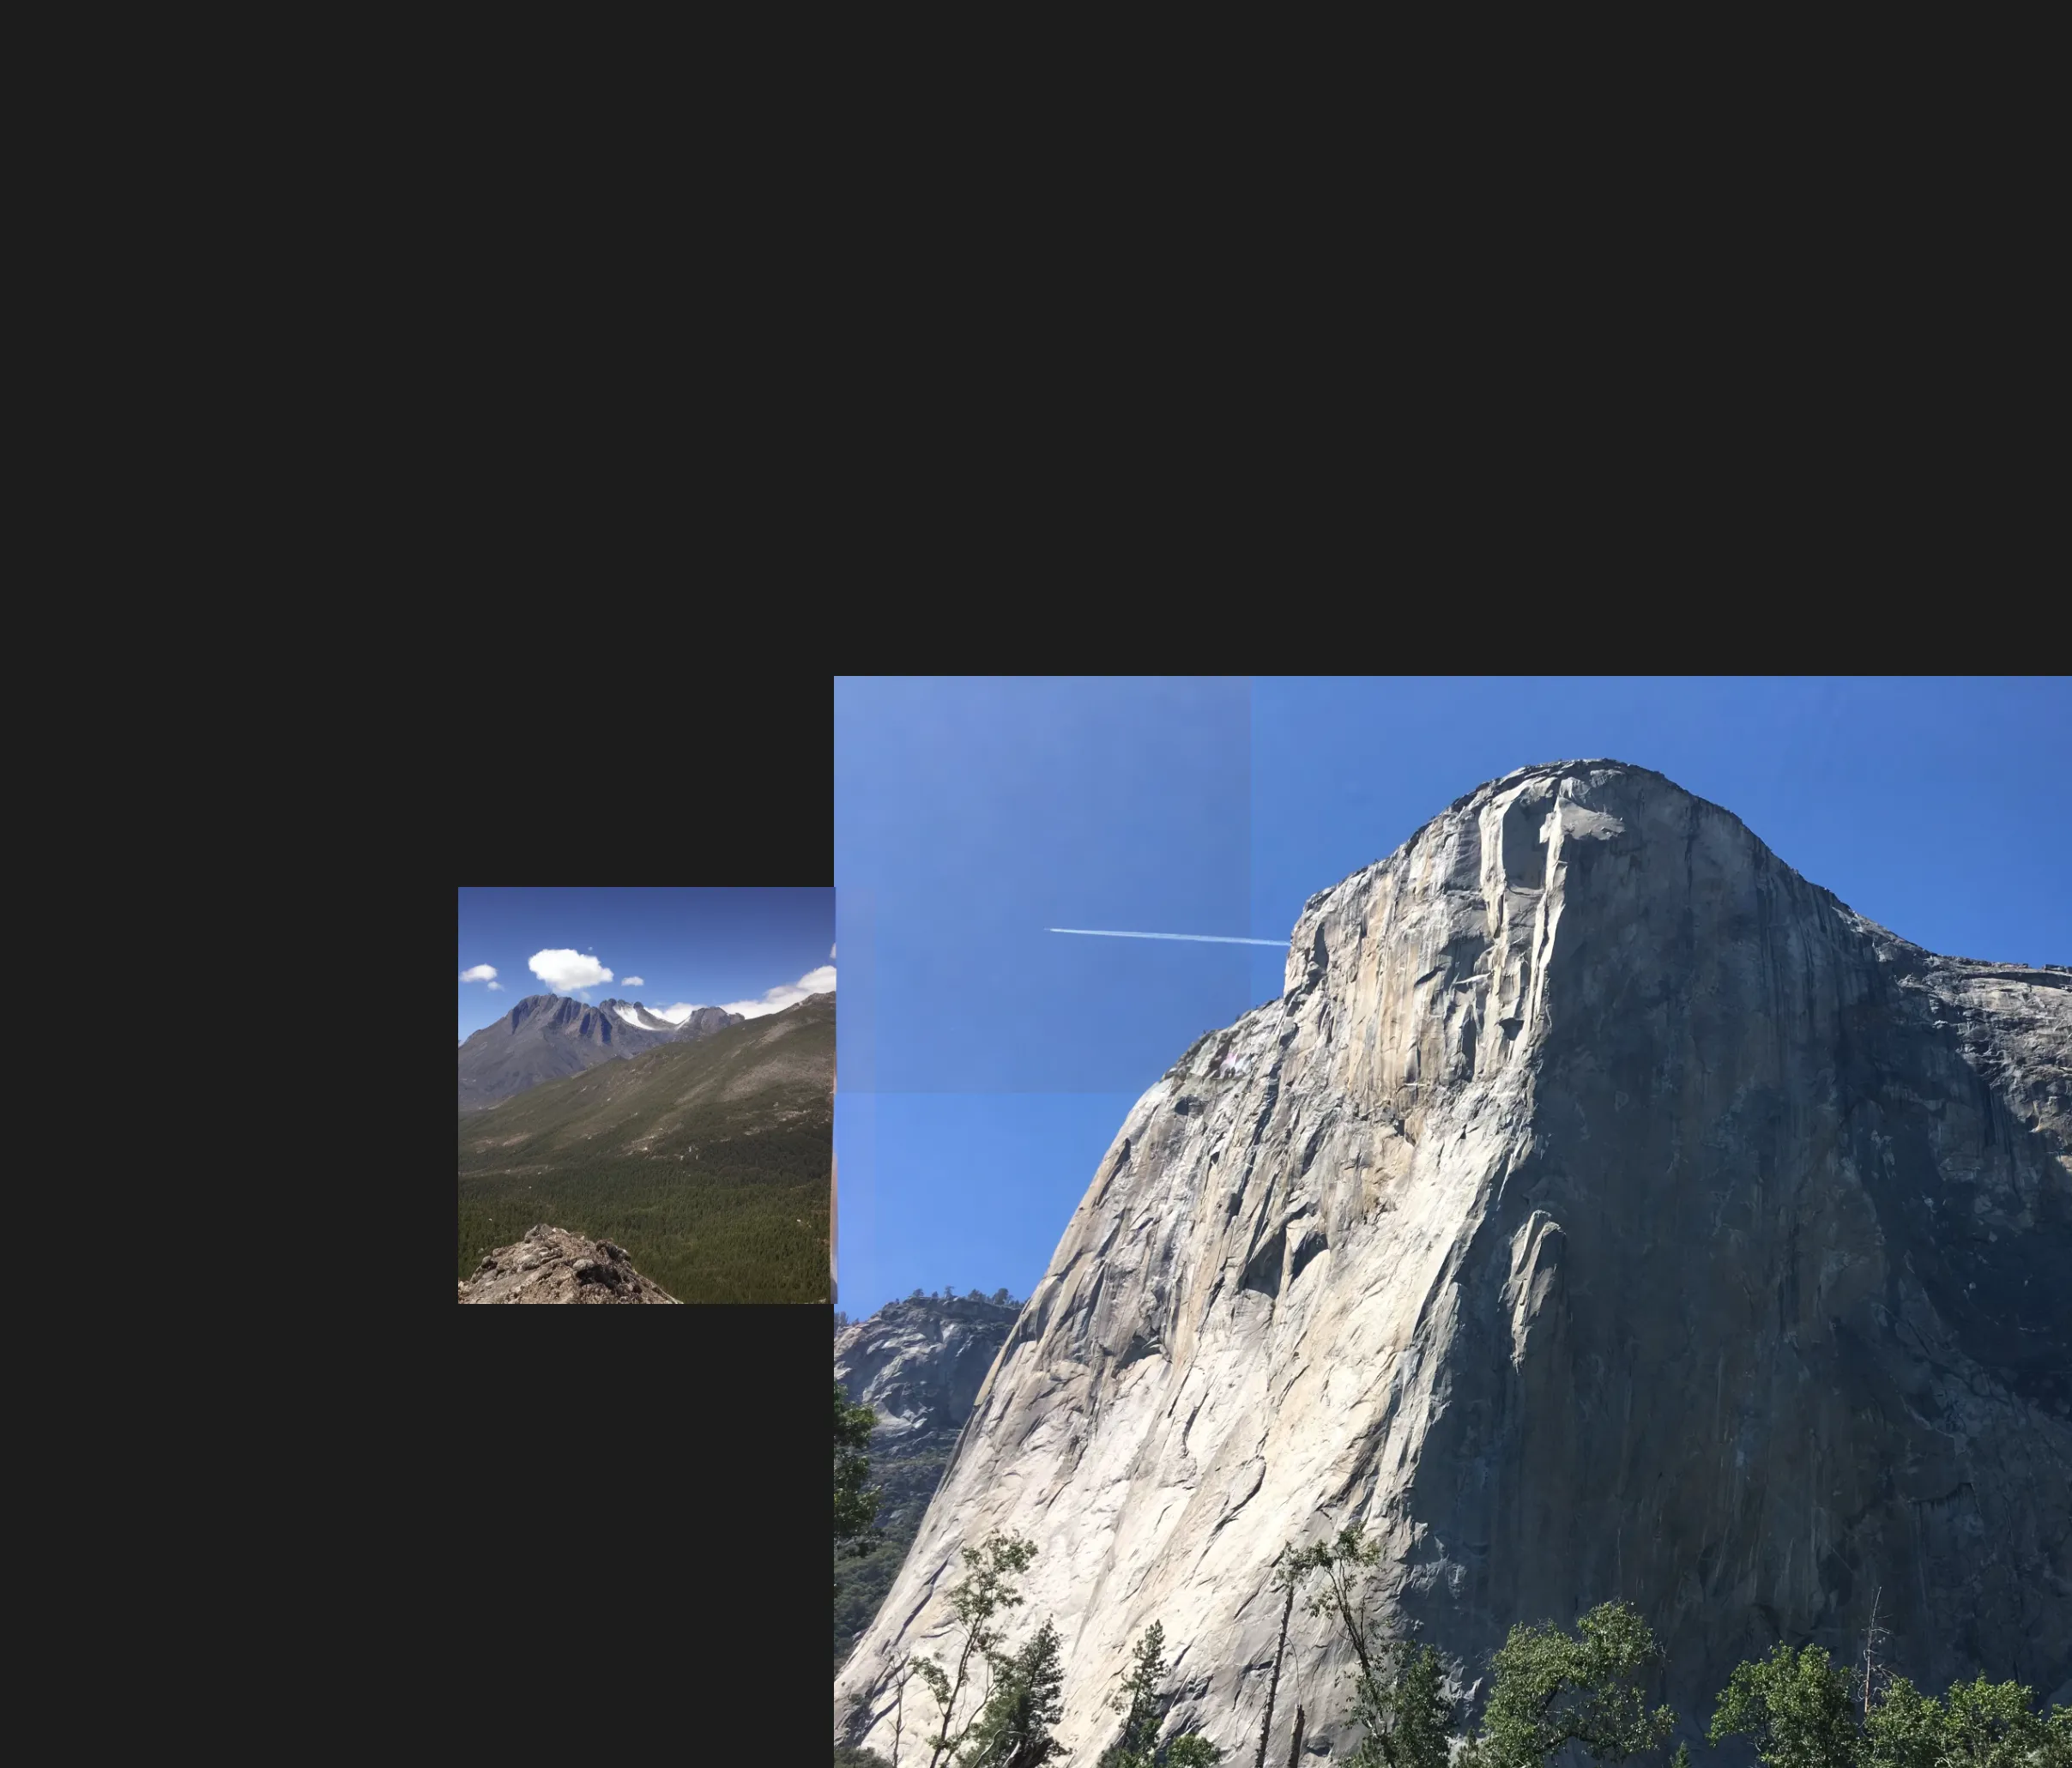
One of the main reasons I really like DiffusionBee is that it runs entirely locally on my machine without communicating with any cloud services. Plus, its search system allows advanced control over the machine learning program. If you're looking for a way to run stable diffusion and you have a MacBook Pro that meets the minimum specs, I highly recommend checking out DiffusionBee!